
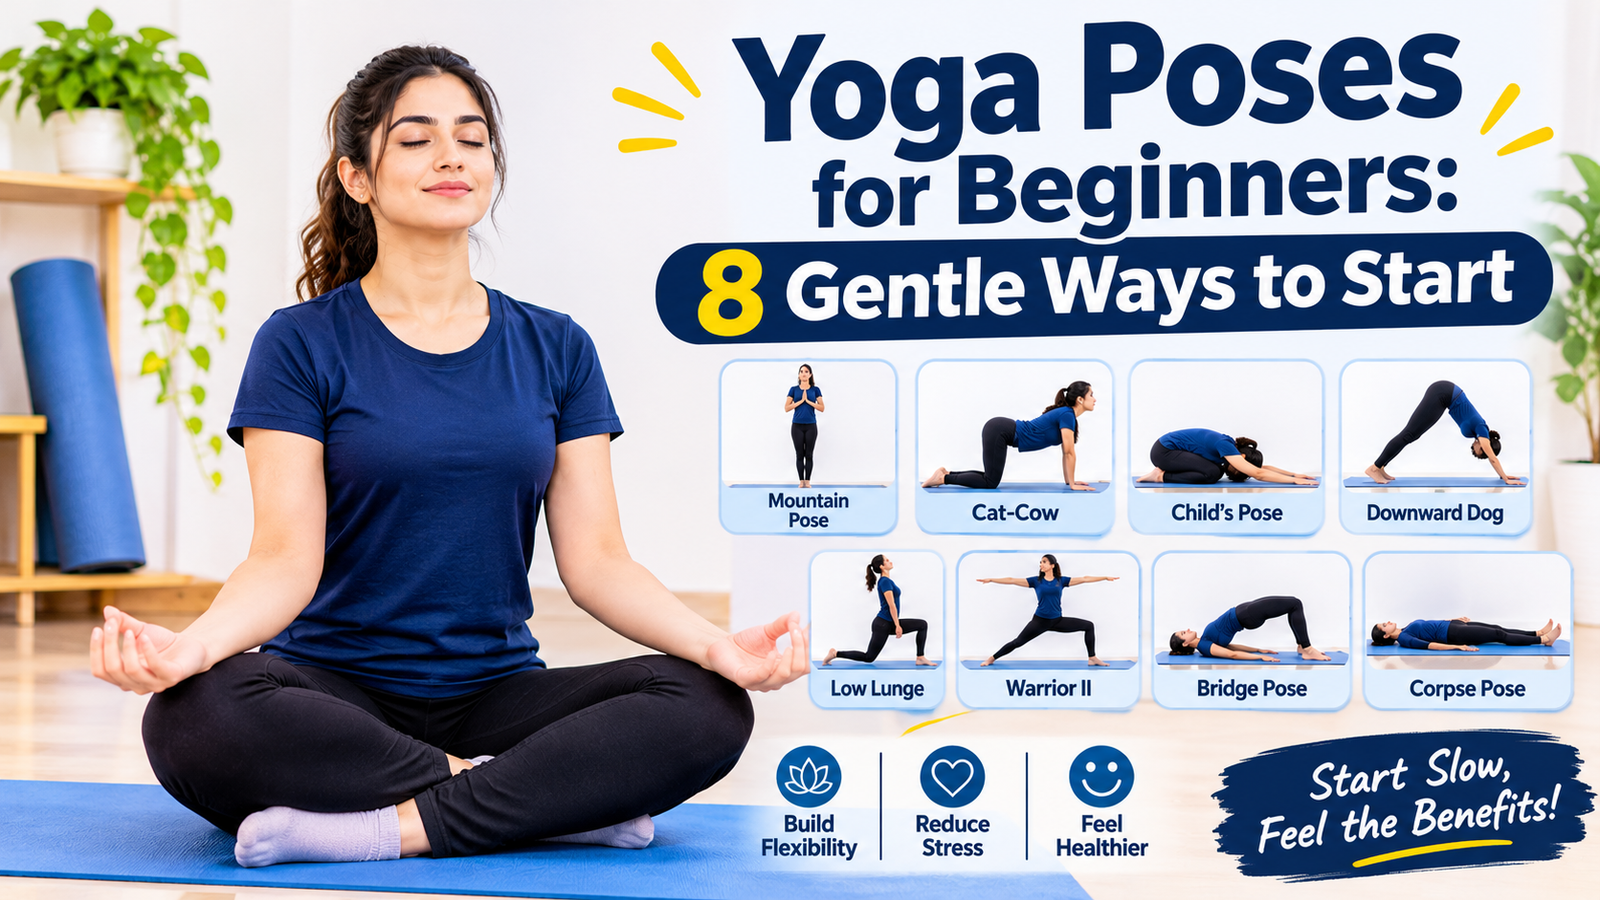
Your first yoga class can feel like walking into a party where everyone already knows each other. Someone folds in half like paper. Someone else holds a pose with a face of total peace. Meanwhile, you’re wondering where to put your hands. If this is you, relax. Everyone begins somewhere, and not as many eyes are upon you as you believe. These beginner-level yoga postures guides will keep things straightforward for you. You will learn eight safe postures, how to perform them correctly, and some tips to make sure you remain comfortable. A few safety notes first. While yoga is gentle on many people, it is an exercise nonetheless. As stated by the National Center for Complementary and Integrative Health, “Yoga is considered a relatively safe physical activity for healthy individuals when practiced appropriately.” The center even adds bluntly that “you can get injured doing yoga,” and recommends practicing under the supervision of a qualified instructor to lower this risk.”You can read more on the NCCIH yoga page. What does this all mean when you’re trying out some beginner yoga poses? Ideally, attend a class, even one time, so you can have someone review your form. Otherwise, do it at your own pace and use this information as a reference rather than a substitute. Make sure you talk to your physician if you have any injuries or ailments. The same applies if you’re pregnant; according to the same website, it is recommended. Rules that keep it comfortable Yoga tips were published in a press release by the American Academy of Orthopaedic Surgeons in 2018. Several of these tips will be applicable to anyone who is practicing basic yoga postures. “Begin slowly and master the fundamentals first.” It tells you to “listen to your body,” that you should stop or rest if you are experiencing pain or fatigue. In addition, “respect your limitations,” in that you do not attempt difficult positions that exceed your ability, and that you stretch your muscles and joints out before exercising, since they are particularly susceptible to injury when cold. Mine, on the other hand, are very easyInhale while holding each position so that you won’t be holding your breath. If the ground is too hard, you can utilize props like a folded mat or a pillow.And skip the comparison game. Eight yoga poses for beginners to start with These yoga poses for beginners are my picks, from general yoga knowledge. Move slowly, and ease out of any pose that feels wrong. 1. Mountain pose.Begin the position by standing tall with your feet aligned with your shoulders and arms resting at your sides. Spread your toes apart, keep your body weight evenly, and lengthen up from the top of your head. 2. Cat/Cow. Kneel down with your hands and knees and place your wrists beneath your shoulders and your knees directly below your hips. Inhale and drop your stomach and gaze forward. Exhale and arch your back upwards and lower your chin. Carry out this exercise gently and change direction after doing the positions. In case your wrist pains you, try doing the exercise on your forearms or putting a towel beneath your knees. 3. Child’s pose. Get on all fours, bring your big toes close together, spread your knees and sit back towards your heels. Lower your head onto the ground or onto a cushion. This is a position of comfort. If there is discomfort in your knees, put a folded towel in between your thighs and your shins or skip this part. 4. Downward-facing dog with bent knees. On all fours, point your toes and elevate your hips. Keep your knees bent enough to relieve any discomfort.The goal is having your spine long, not your legs straight. Push your hands on the floor and hang your head down. When experiencing pain in your wrist or shoulder, make sure to take a brief rest before attempting further movements. This will be difficult for someone just starting out, so just listen to your body and don’t push yourself too hard. 5. Low lunge.Step one foot forward between the hands and lower the back knee to the floor. If necessary, use a folded blanket for comfort. Ensure that the front knee is in line with the ankle. Open the chest and breathe. Repeat with the other leg. 6. Warrior II. Position your feet apart. With the front foot rotated outward, bend the knee while keeping it aligned with the ankle and looking forward across the arm. No need to heavily lower the knee; only a slight lower knee bend will suffice. 7. Bridge pose. Rest on your back with bent knees, keeping your feet hip-width apart. Grow your hips off the floor by pushing from your feet, as your head and neck stay calm. Breathe in and gently lower yourself down. In the event of discomfort in your lower back,.Our guide on hamstring stretches for lower back pain covers other gentle floor moves if your back feels tight. 8. Corpse pose. Lie flat on the back, relaxing the legs and arms at the sides. Close the eyes. Remain in the pose for several minutes. If lying flat aggravates the back pain, use a cushion under the knees. A tiny first routine Here’s a simple order for these yoga poses for beginners, and it’s my own idea. Begin with mountain pose, followed by cat-cow pose, rest in child’s pose and end up with soft-knee down dog. Follow this with low lunge on each side, and finally bridge and corpse pose. A ten to fifteen minutes routine will be sufficient enough for the first week.Practice two to three times a week. How to know it’s working Forget about amazing results. It is all about small improvements, such as decreased stiffness when getting up, deeper breaths, or simply dropping of your shoulders upon exhaling. They are common indicators of practice, and nothing else, as I cannot assure anything about any improvement in your health from yoga practice. When to